
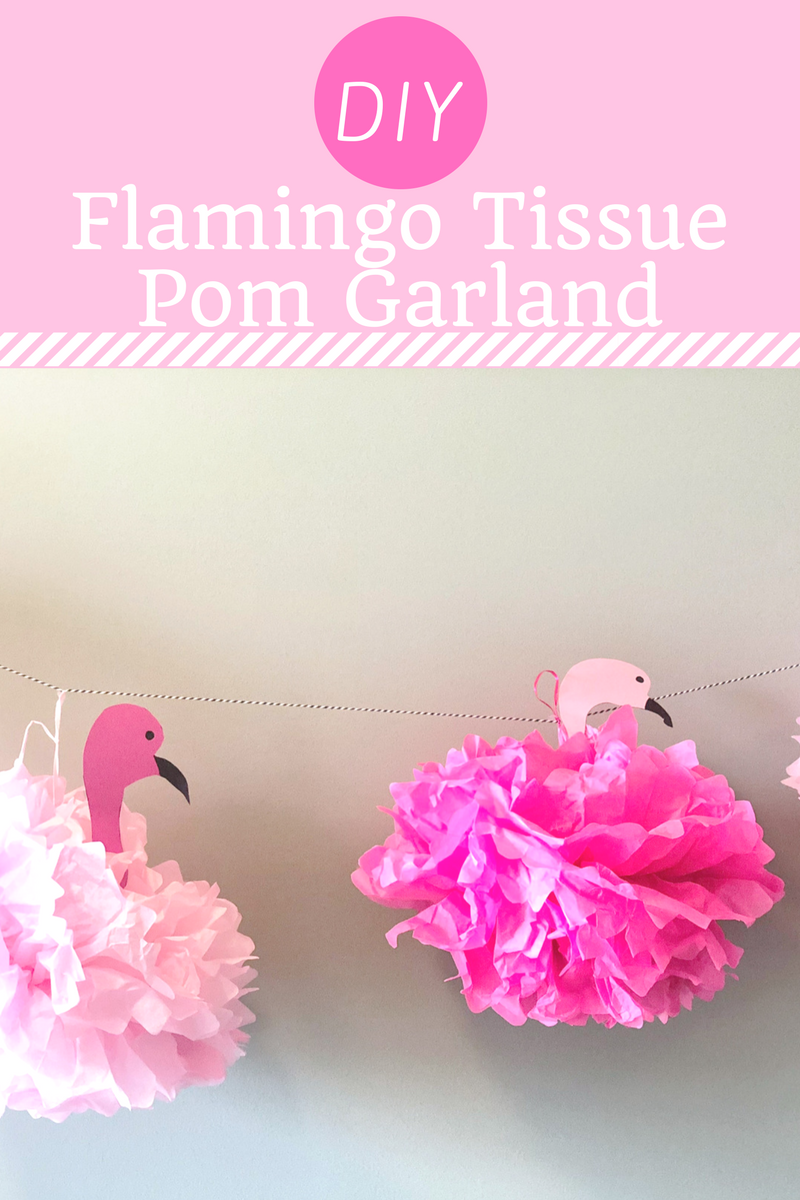
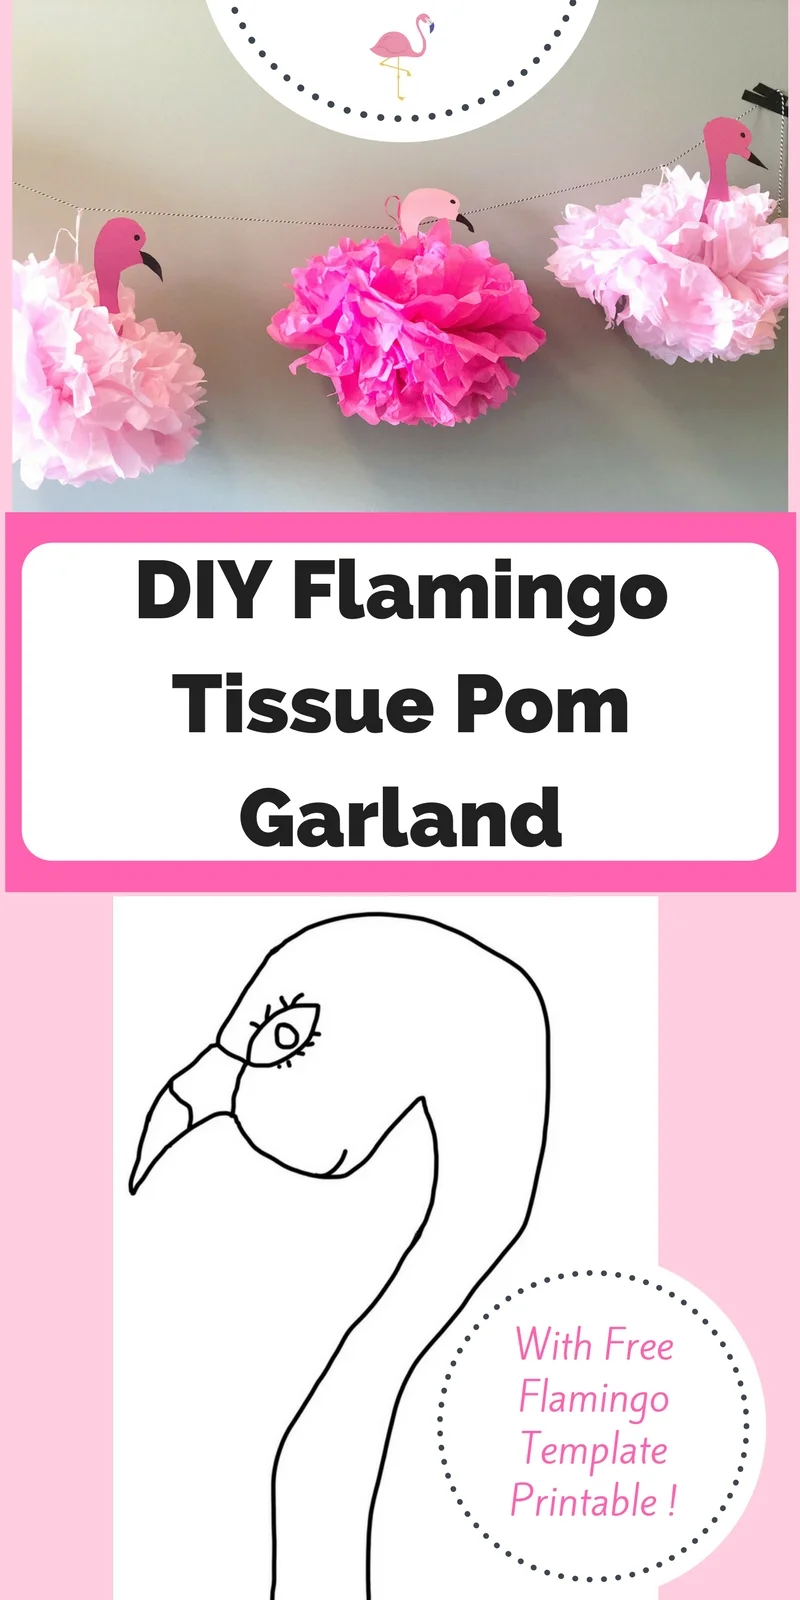
DIY Easy And Adorable Flamingo Tissue Pom Garland
So, I always love a good DIY craft for parties and so I couldn’t help myself when I saw these hanging tissue poms and came up with an idea for this flamingo garland. Now, an artist I am not (I can do lots of crafty things but drawing is definitely not one of them), but I have included a template for my flamingo head, feel free to use if you want to or create your own. Either way this project is downright easy. In fact I kind of forgot about it and remembered 20 minutes before we had to leave to the party and I was able to get it done, that’s the quickest I have ever party crafted before!
Some Links In This Post Are Affiliate Links, See Disclosure For More Details
Supplies Needed
6 Pink Tissue Pom Poms (I used two different shades of pink and varying sizes of poms but you can do however you wish)
Thick Pink Cardstock (I chose contrasting pink for the head but your shade can match as well)
Scissors
Twine
DIY Tissue Pom Flamingo Tutorial
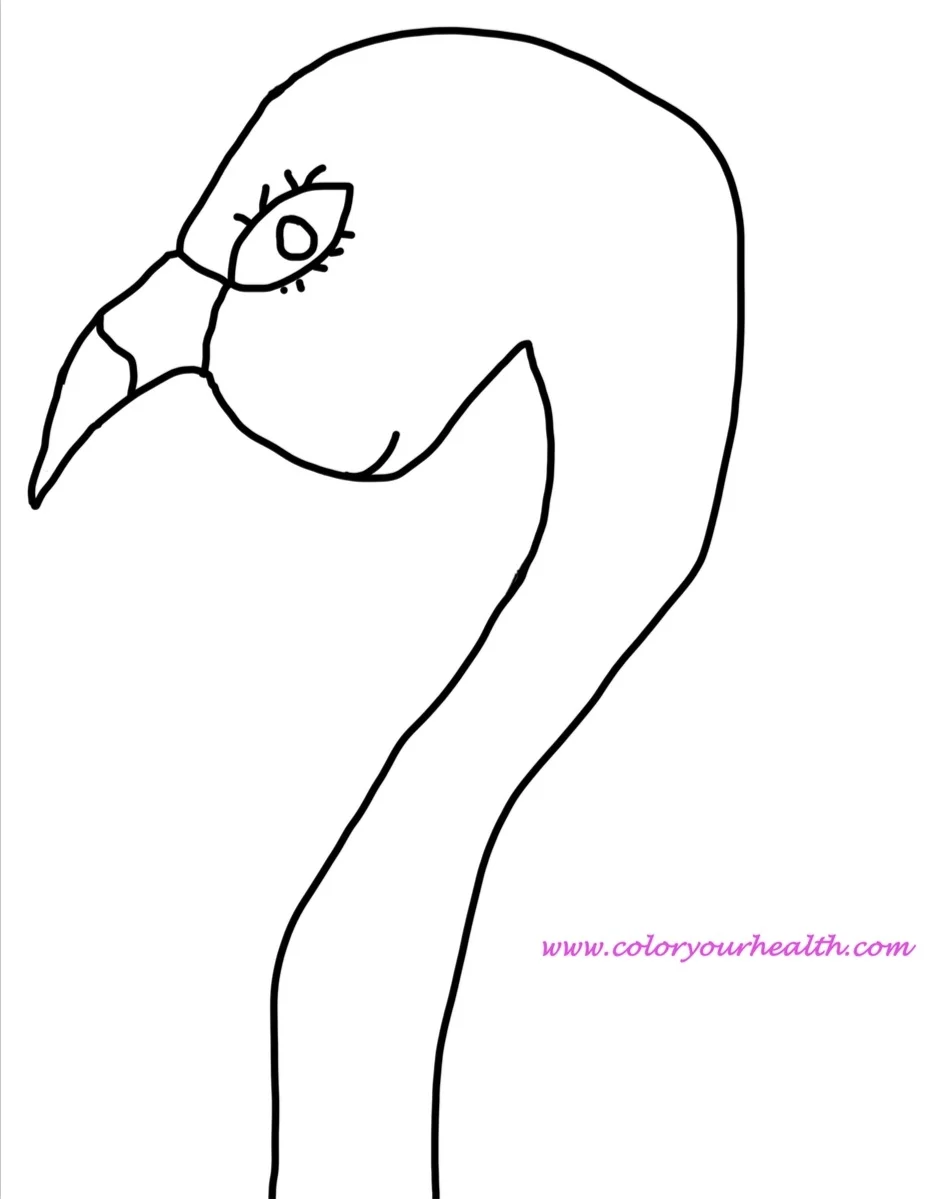
1. First you will want to cut out your flamingo heads out of cardstock using my free template or creating your own. Feel free to add eyes, eyelashes and a smile like the template shows or leave it more simple. I only added one head per tissue pom however if you need your garland to be viewable from both sides you will want to make two per tissue pom and glue them together. Click on the image below to download the printable template.
2. Now you will want to begin unfolding all of the sections of your tissue, very carefully separating each layer until all layers have been separated.


3. Your pom should be taking the form of a ball by now but you will now want to further scrunch and fluff the tissue to create an overall “ball” look.

4. Warm your hot glue gun and then locate the hanging string on your tissue pom. You will want to glue your flamingo head right in the center of the pom that way when you hold the string the head is still upright. Be sure to bury the base as deep as possible in the tissue and glue 3/4 the way up the neck of the flamingo so that the head stays upright and doesn’t droop to the side. You may need to make your base a little shorter (and possibly wider) than the one in the template for smaller tissue poms. You can make it shorter simply by cutting or folding.

5. Once you have secured the front side, be sure to glue up along the back side as well to again add more stability. Before doing this, be sure to check again that when you lift the pom by the string that the flamingo head is still in the center. If this is not the case quickly re-glue the front side before moving on to the back.

6. Now that you have the flamingo head fully glued, take the string and tie a hanging loop on it, the closer to the base this loop is, the more secure it will be. This loop you will then use to slide the pom into your twine.


7. Repeat these steps with as many flamingos as you are making, keeping in mind that the more you add, the heavier your garland will be and the more sturdy options it will require for hanging.
8. Once you have assembled all tissue poms you will then string them along the twine. It’s easiest to do this on the floor due to the size of the poms. Once on the twine, arrange and space out the poms to the exact spots you want them and then hot glue the loops closed onto the twine to keep them in place and prevent sliding and bunching.
9. Have fun and enjoy your flamingle!