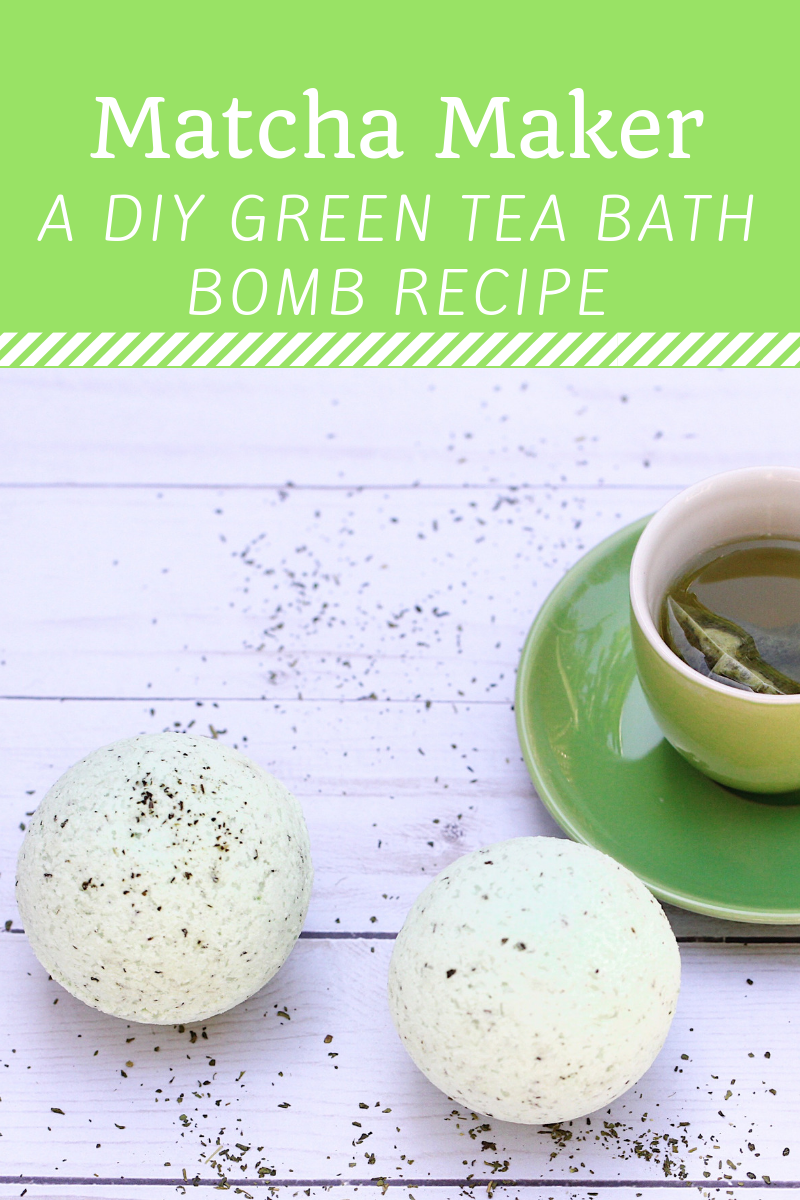
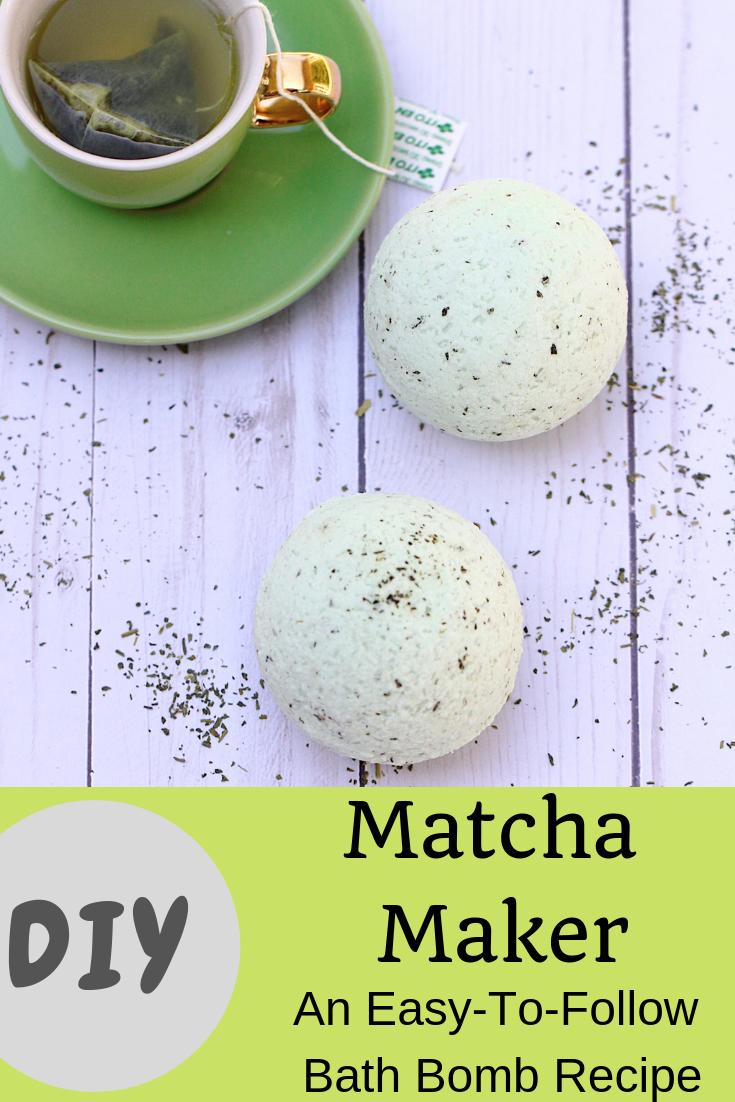
Matcha Maker: A Homemade Green Tea Bath Bomb Recipe For Beginners
Remember back last summer when I turned my kitchen into a bath bomb making facility!!?? Yeah, that was a lot of fun. Well, I posted an orange sherbet bath bomb recipe a while back and then kind of forgot that I had a few other recipes to share with you all! I’ve been doing some computer file organizing lately and came across these photos for my matcha green tea bath bombs and I just can’t believe that I have yet to share them with you all! These beauties are perfect for Spring and summer. They have a nice refreshing scent thanks to the peppermint and gernaium essential oils (because green tea just doesn’t smell nice enough on its own LOL) and the addition of green tea is perfect for replenishing nutrients in the skin! Plus, this recipe is fairly simple so anyone from beginners to experts can make this one! And be sure to check out my free printable pdf labels if you are using these gifting…. which they would make the perfect Mother’s Day gifts…. I’m just sayin!
Note: links in this post are affiliate links which means I will receive a small commission if you purchase through the link provided. It is not necessary to shop through my links but if you do THANK YOU for your support of me and my blog! See Disclosure For More Details
Ingredients & Supplies Needed
* This recipe will make 2 standard large size bath bombs or 3-4 smaller sized bath bombs, you can double the recipe to create more at one time
Dry Ingredients
3 Tbsp Epsom Salt
1/2 Cup Baking Soda
1/4 Cup Arrowroot Powder
1/4 Cup Citric Acid
1/4 Tsp Of Pale Green/Lime Green Mica Powder
1.5 Tsp Matcha Green Tea Powder
Optional: Extra 1/4 Tsp Matcha Powder (for decoration)
Wet Ingredients
1 Tbsp Coconut Oil
1/4 Tsp Vitamin E Oil
5 Drops Geranium Essential Oil
5 Drops Peppermint Essential Oil
10 Drops Polysorbate 80
Spray Bottle Of Distilled Water And 90% Alcohol (A Half and Half Mixture)
Supplies
2 Mixing Bowls
Spoon And Fork
Mask
Disposable Gloves
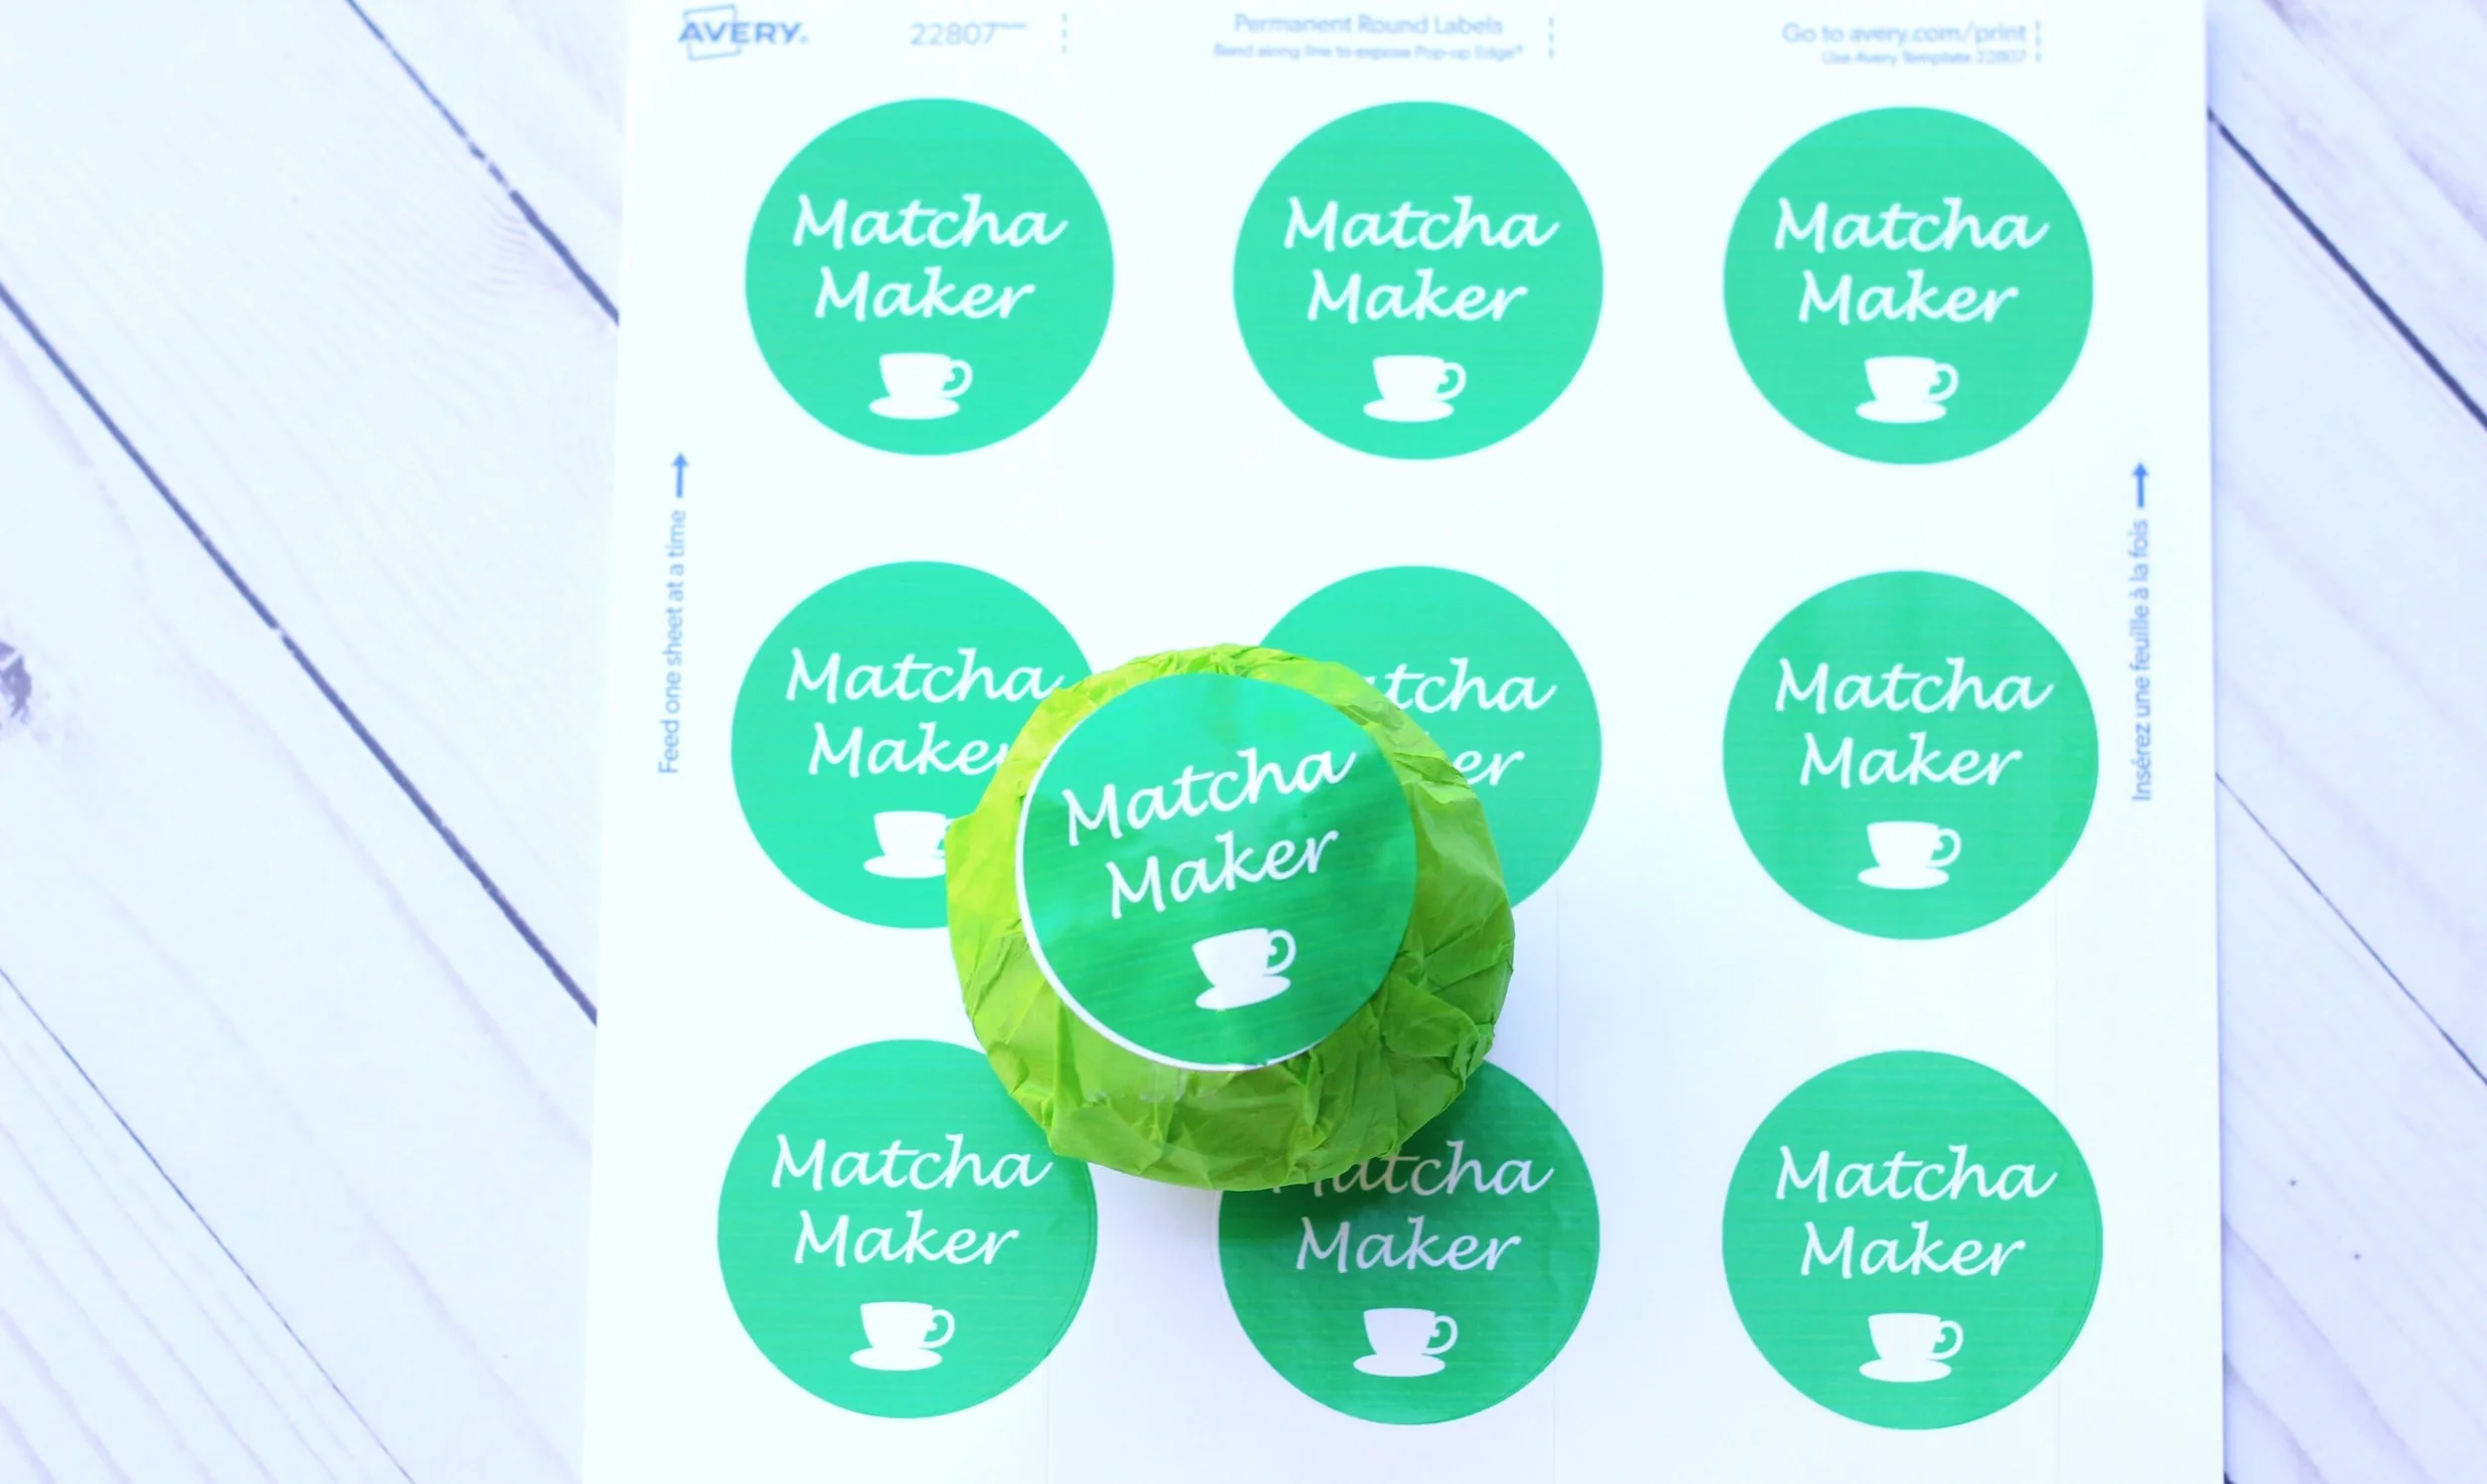
Avery Labels (the free file is formatted for the 2 inch diameter circle labels)
Homemade Matcha Green Tea Bath Bomb Recipe
1. Begin by adding all of your dry ingredients (except mica powder) to a large bowl. This will include your epsom salt, baking soda, arrowroot powder, and citric acid. Mix and sift together with a fork to combine all ingredients well. Wearing a mask during this process is advised because these ingredients will readily disperse into the air and you don’t want to be constantly breathing this in!
2. Add in your mica powder (reserve your 1/4 Tsp for the decoration at the end) and your matcha green tea powder into the dry ingredients. Mix and sift together again with a fork to combine the green tea and colorant into the mixture evenly.
3. In a smaller bowl combine your wet ingredients together (coconut oil, vitamin E oil, essential oils, and polysorbate).
4. Once wet ingredients are well mixed, very slowly pour the wet mixture into the bowl of dry ingredients (slowly as to not activate the citric acid/baking soda). Using a spatula, ensure that all the wet ingredients are cleared out of the bowl and into the larger bowl.
5. Using a fork and/or spoon, combine the wet and dry ingredients together in a mashing and mixing type method. As the mixture combines you will start to see the color darken and the consistency take on a thicker texture.
6. While wearing gloves (to avoid stripping off nail polish or drying out nails), use your hands to further mix and knead together the ingredients. The perfect consistency for bath bombs is that of slightly damp sand that holds its shape when you pick up a handful and squeeze it together.
7. If your mixture is too dry (does not hold its shape) use your spray bottle of 50/50 distilled water and alcohol and spray a few sprays into the mixture and remix. Repeat this step (VERY carefully as you do not want the mixture too wet) as many times as necessary, again being very careful to not over wet the mixture.
8. Once you have reached the perfect consistency you are now ready to mold your bath bombs. If you plan to add the optional matcha powder decor your will now sprinkle some in the center of one side (the TOP side) of your mold prior to filling it.
9. Using a spoon, begin to fill up one side of your bath bomb, pressing in to condense the material, but not packing it too tight as this will cause it to become too dense and sink right to the bottom of the bathtub when using! Slightly overfill the half and then fill the other half in the same manner.
10. Once both halves are slightly overfilled, combine them together with a constant, gentle pressure, and press firmly around the edges of the mold to seal together. Place the mold on a hard surface and leave undisturbed for 2-3 minutes.
11. After a few minutes, gently lift the top half of the mold off, it should slide off fairly easily. If this is successful, gently place the mold back on and flip over to try to release the opposite side. Doing this will ensure that your bath bomb is packed in correctly and will easily release. If your bath bomb breaks during this time, don’t fret! Simply remix the ingredients, add decor if you choose back into the top half of your mold, and refill + try again!
12. If you were able to successfully release both sides of your mold you will then want to place the bottom half of the mold back on, leaving the top half uncovered. Set this on a hard surface and let sit undisturbed to dry for 4-6 hours.
13. After 4-6 hours gently remove the bottom half of the mold and then place the bath bomb on a hard surface (and on top of a piece of bubble wrap if you have some handy which will eliminate any flattening of the bottom surface) and let dry for another 12-14 hours.
14. Package these beauties up or use them in your next bath and enjoy! Keep in mind that the freshness usually last up to one month and the scent and fizzing action will begin to decline after this point!
Get your free printable labels to use when packaging your bath bombs for gifting… or as a special treat to yourself!


