A Valentine's Treat: Clean Eating Chocolate Truffles
Some Links In This Post Are Affiliate Links, See Disclosure For More Details
The holiday of love and chocolate is almost upon us. If you are anything like me, you actually don't need an excuse to eat chocolate.... holiday or not. You see, I have always had a sweet tooth and used to really enjoy baking and creating sweets in my kitchen. I take that back... I STILL enjoy this, I just don't have the time to do this much anymore. So when I found myself with an unexpected bonus day off of work last week and the girls were at school, I decided I had no reason to not get in the kitchen and cook up something sweet! I always loved making macaroons for Valentines Day because of the various flavor combinations I could create so this time around I thought, why not try chocolates with differing flavors??
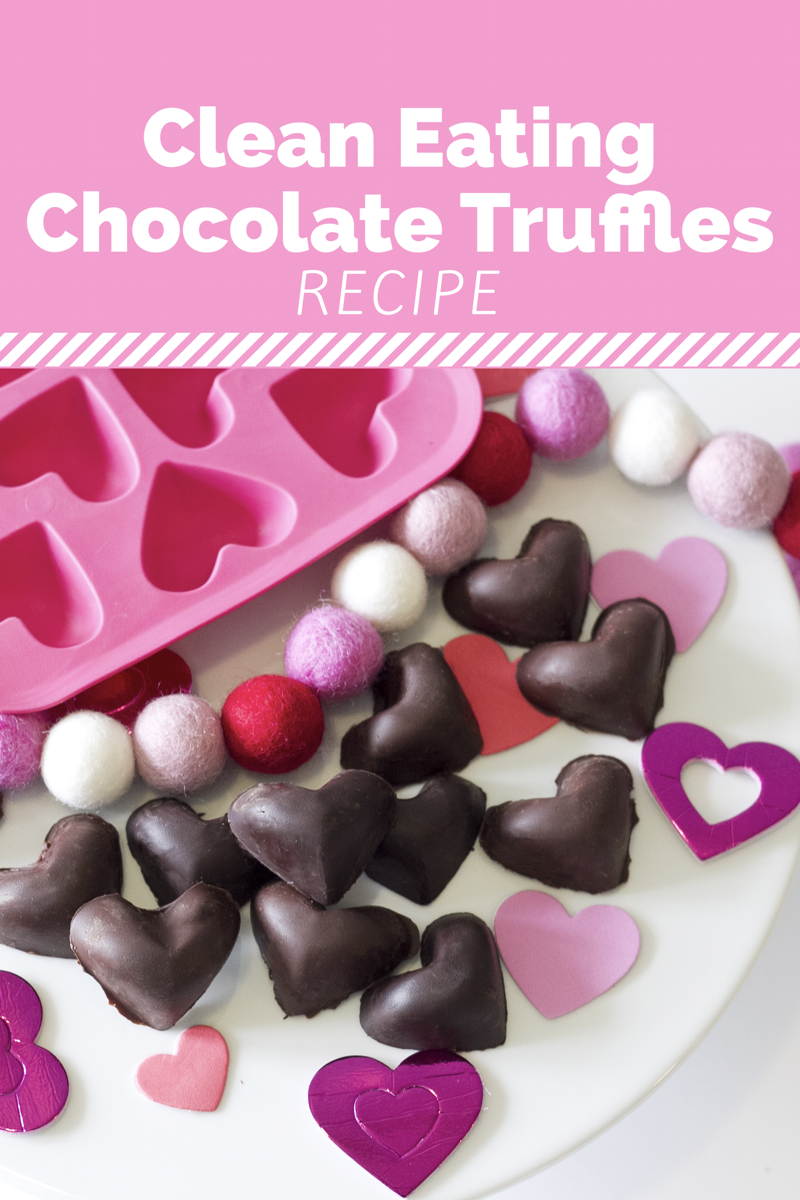
Now, a chocolatier I am not (as evidenced by my imperfect edges on my chocolates seen below LOL) but I have learned you only need three things to make delicious tasting chocolate truffles 1) a pretty mold 2) time 3) patience. And let me also say that while I feel I have mastered the recipe in the taste department, my presentation could use a little work. I can't tell you how many chocolates I have that didn't make it into these photos due to being smooshed or broken from my inept skills at removing the chocolates seamlessly from the molds. But the good news?? Those "imperfect" chocolates still taste pretty darn perfect! I even fed them to guests who thoroughly enjoyed every last bit! Now, on with the recipe!
Ingredients & Supplies Needed
* This Recipe Will Make Approximately 48 Chocolates Depending Upon The Size and Shape Of Your Mold, Adjust Ingredient Proportions Accordingly If You Wish To Make More Or Less
For the Ganache Filling:
6 oz. Chocolate Chips (The natural/nonGMO/Gluten Free brand that I use is pictured below) or Baking Chocolate Bar broken into small pieces
2/3 Cup of Canned Coconut Milk (mix the contents of the can fully prior to measuring)
Vanilla Flavoring - 2 Teaspoons of Ground Vanilla Bean (per approx. 24 chocolates/half of batch)
Raspberry Flavoring - 1/2 Cup Washed Raspberries and 1 Tsp of Honey pureed together (per approx. 24 chocolates/half of batch)
Orange Flavoring - 1/2 Tablespoon of Fresh Orange Zest (per approx. 24 chocolates/half of batch)
Espresso Flavoring - 2 Teaspoons of Ground Espresso (per approx. 24 chocolates/half of batch)
For The Chocolates:
Approximately 24 oz. of Chocolate Chips or Chocolate Baking Bar broken into pieces
Double Boiler (or other similar method for melting chocolate)
Nonstick Spray (I use coconut oil baking spray)
Clean Eating Chocolate Truffle Recipe
You will first want to place your coconut milk into a pan on the stove and bring it to a simmer on medium low heat. While the milk is warming pour your chocolate pieces for the ganache (6 oz) into a heat proof bowl.
Clean Eating Chocolate Truffles - Chocolate Chips Are Ready And Waiting In The Heat Proof Bowl
Clean Eating Chocolate Truffles - Guittard Is The Brand Of Chocolate Chips That I Love!
If you will be making more than one flavor you will also want to set out smaller glass Tupperware containers to accommodate the number of flavors you are making (I typically do two flavors per 6 oz of chocolate used but you could do more, just adjust the ingredients for the flavors proportionally).
Once the milk has hit a simmer (do not heat it up to boiling as it will burn) turn off the stove and pour the milk over the chocolate that you have placed in the heat proof bowl. Let sit undisturbed for five minutes to allow the milk to melt the chocolate. During this time prepare and measure out the flavoring ingredients.
After five minutes stir/whisk together the melted chocolate and coconut milk until all is well combined and you have a velvety chocolate consistency.
Clean Eating Chocolate Truffles - The Velvety Appearance Of The Chocolate Ganache After Mixing The Melted Chocolate & Coconut Milk
At this point you will then divide the mixture evenly into the number of containers you have set out for the different flavors. Now add the flavoring ingredients and stir/ incorporate the flavoring well. Now place the lid on the containers and place into the refrigerator for at least two hours, I typically leave mine overnight if I have the time to spare. The flavors will intensify the longer it is refrigerated.
Now it is time for the fun... and time consuming part of this adventure. The first thing you will want to do is put your coating chocolate (the 24 oz. of chocolate chips or baking bar pieces) into a double boiler (or similar method) to melt your chocolate. While the chocolate is melting, spray the insides of your mold very lightly with baking spray to make it easier to release the chocolate from the molds when the time comes. Do not allow the spray to pool up in the corner of the molds, if this happens simply dab the excess out with a paper towel. Once your chocolate is thinned and melted you will begin the process of using your paint brush to paint a light coating of chocolate inside each mold. Don't worry about this being too perfect as you will be doing 2-3 coats, but do try and make it as smooth as you can without being too picky! Once you have coated all the wells of that mold, stick it into the freezer to quickly set while you work on your next set of molds (if you have multiple, if you are just using one mold this is fine too). You will repeat the painting steps at least one more time after the initial layer has set up, you may even repeat a third time if you feel like there are still voids in your layer. Essentially you want to have a good base layer of chocolate down in the mold, with no voids or holes, but not too thick as you will next place your filling.
Clean Eating Chocolate Truffles - What my base layer looks like after painting one coat and then allowing the chocolate to set up, moving on to paint my second coat here.
Once you have achieved the base layer, go ahead and remove your chocolate ganache from the refrigerator. You will now take a small spoon (a separate spoon for each flavor) and scoop a small amount of your chosen filling into each mold, using the tip of the spoon or your clean finger to press each filling into the mold as much as possible, do not place your filling all the way to the top as you will need a second layer of chocolate after your filling to "close" the chocolates. As all of these steps may take some time, be sure to keep your double boiler on low and remove it from the heat if it starts to appear over cooked... you do not want to end up with burnt chocolate!
Once you have placed the fillings in all of the molds you will now use a clean spoon to spoon another layer of the melted chocolate from your double boiler over your filling, carefully do this and use the tip of your spoon to help evenly spread the chocolate into all areas. Careful attention to detail at this step will ensure that the ganache filling is completely encased between two layers of chocolate. Also, be careful not to overfill at this step as it can become messy as well as make the chocolates harder to remove from the molds if they are overfilled. Now place into the refrigerator until completely set (usually at least two hours).
To remove your chocolates from the mold I have tried various ways... the worst of which is to try and squeeze them out the way you would ice cubes. The best way I have found to do this (although not fool proof) is after the chocolates are set up in the refrigerator, place the mold in the freezer for about 3 minutes which should slightly contract/shrink the chocolates, then remove from the freezer and turn the mold over and tap firmly over the chocolates with the back of a spoon to release the chocolates from the mold onto a waiting plate or soft towel.
And you're done, easy as that!! This whole process typically takes me about 20 minutes per 12 chocolates, so for this whole batch I would say I spent about an hour and a half all together... not too bad! And the more you do this the quicker you get at it, it starts out a little slow but don't worry you will pick it up quickly! I hope you all have enjoyed this sweet recipe as much as I have (and all my family and friends LOL)!
